
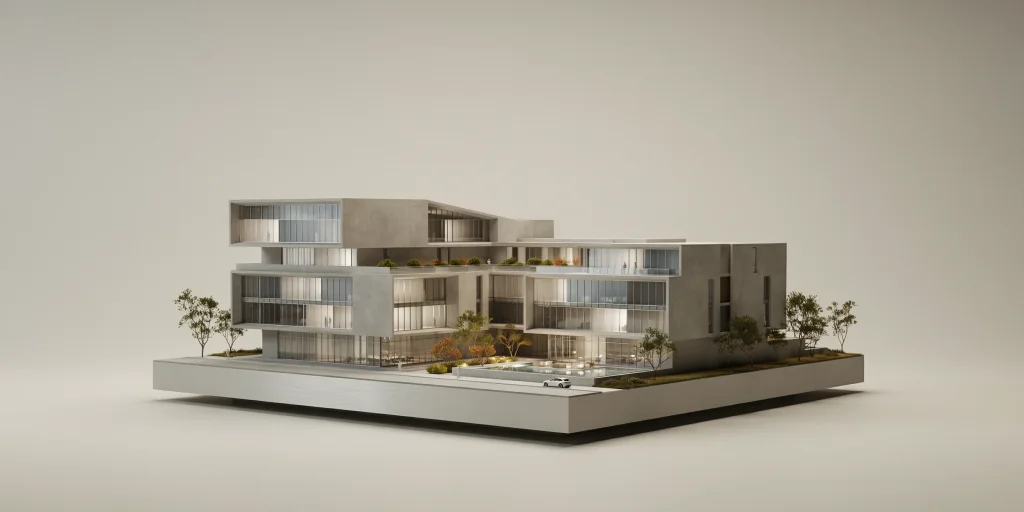
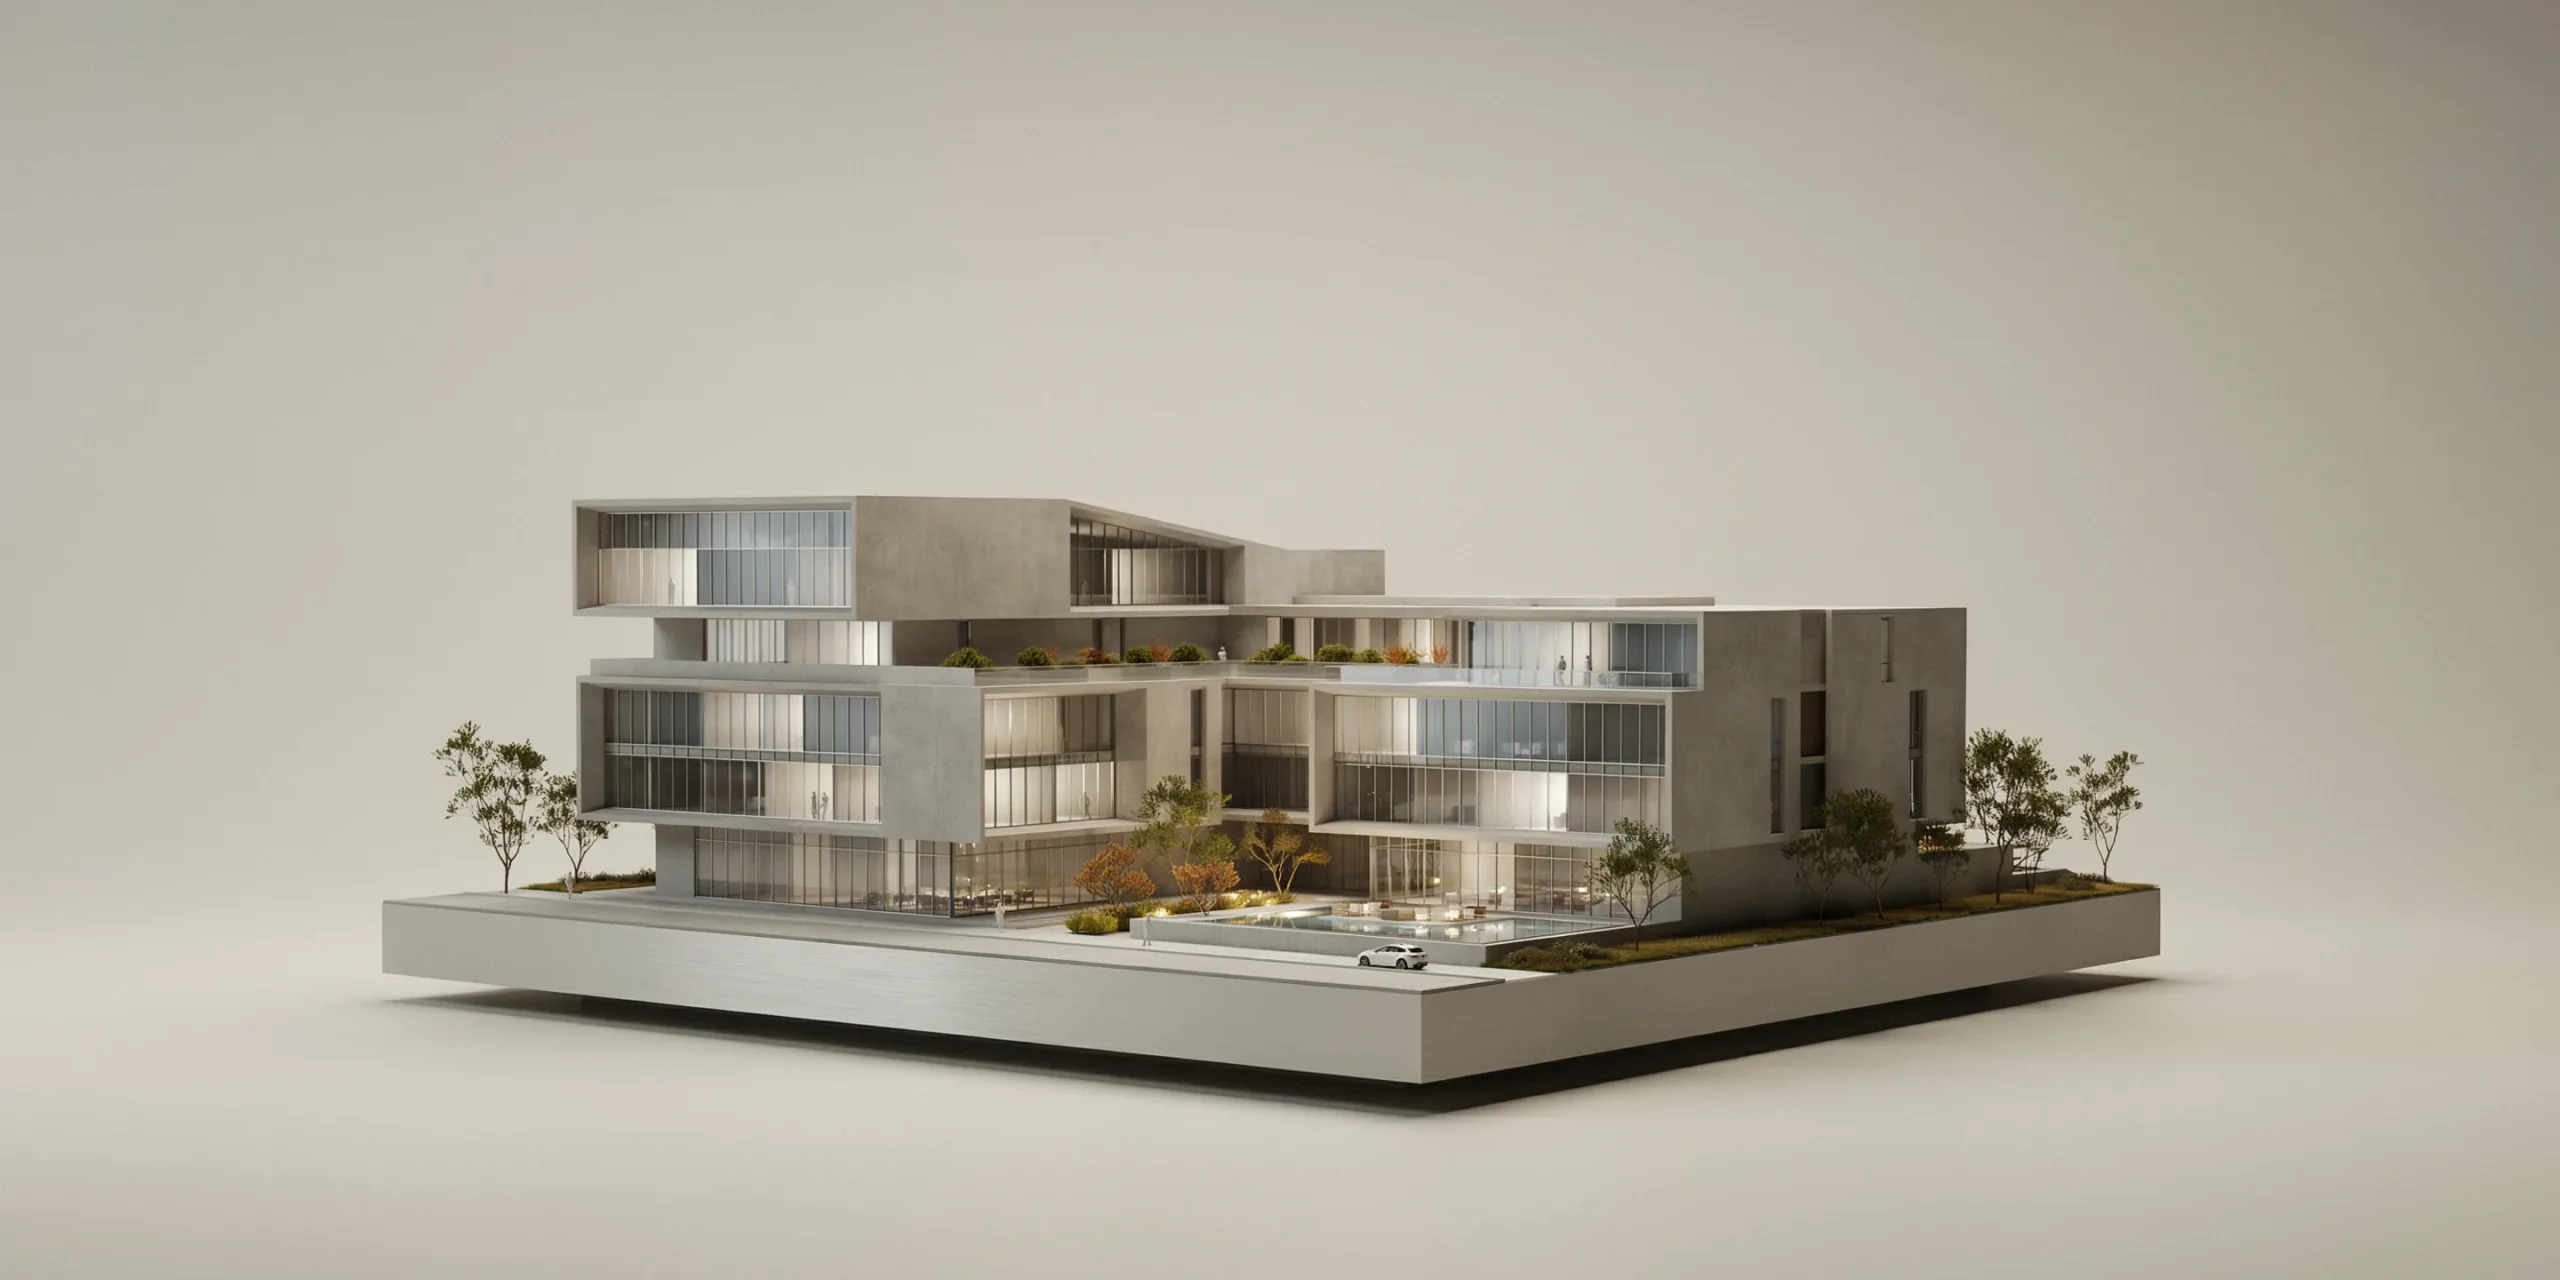
Strong architecture model photography can turn a weekend of foamcore and basswood into the most memorable spread in your portfolio. The way you light, frame, and edit a physical or digital model decides whether a hiring architect reads it as a real design idea or a hobby craft project. This guide walks through lighting, backdrops, phone versus camera, shooting drawings, and editing so your model work lands jobs.
What is architecture model photography and why does it matter for your portfolio?

Architecture model photography is the practice of capturing physical or digital study models with controlled lighting, clean backdrops, and considered composition so the images read as polished design documents rather than casual snapshots. For a portfolio, these photos prove you can think in three dimensions, test ideas through making, and present them with the same care a built project would receive.
Reviewers spend roughly ten seconds on a first pass through a portfolio before deciding whether to slow down. A well-shot model breaks that scan because it signals tactility and process, two qualities renderings alone cannot fake. The good news is that the gap between an amateur and a professional shot is mostly technique, not gear. A cardboard study model photographed on a clean sweep with one diffused light will outperform a beautiful model shot under a kitchen ceiling fixture every time.
If you are still assembling your overall layout, study how model spreads sit alongside drawings and renders inside the Portfolio Mentor template and review tools before you commit a full page to a single model shot.
📌 Did You Know?
Many admissions readers and studio principals treat process and physical model work as a tie-breaker between two otherwise equal applicants, because it demonstrates iterative thinking that finished renders cannot. A single strong model photograph often carries more weight than a third polished perspective of the same building.
How to light an architecture model for clean, professional photos

Light one model with a single dominant source plus soft fill, and you solve most of the problem. The classic setup uses one direct light acting as the sun and one indirect or bounced light to lift the shadows. The direct source carves the form and reveals depth in walls, fins, and recesses, while the fill prevents those shadows from going fully black.
The most common failure is multiple competing overhead lights. First in Architecture and The School of Photography both stress avoiding more than one main direct source, because each extra source casts its own shadow and the model ends up looking confused and flat. Turn off the room’s ceiling lights, place a desk lamp or LED panel to one side at roughly a 35 to 45 degree angle, then bounce a second light off a white wall, foamcore card, or umbrella to soften the dark side.
- Key light: one diffused source (LED panel, softbox, or lamp through tracing paper) angled to rake across the facade.
- Fill light: a white bounce card or second soft light at lower power to open the shadows.
- Direction: side or three-quarter lighting reveals depth; flat front lighting kills it.
- Time of day: if shooting near a window, soft overcast daylight is the easiest natural softbox you will ever get.
💡 Pro Tip
When a white chipboard or basswood model blows out under direct light, drop your exposure half a stop and let the bounce fill do the work. It is far easier to lift slightly underexposed shadows in editing than to recover blown highlights on a white model, which simply have no detail left to restore.
What backdrop works best for architecture model photography?

A seamless neutral sweep is the safest backdrop because it removes every distraction and keeps focus on the model. Drape a single sheet of white, mid-gray, or black paper or cloth so it curves continuously from the wall down onto the table, eliminating the visible horizon line where surfaces meet. This is the same infinity-curve trick product photographers use, and it instantly makes a desktop model look studio-grade.
Match the backdrop tone to the model. A white chipboard model often reads best against light gray, which separates the edges without harsh contrast, while a dark or material-rich model pops against white. Black backdrops create drama for lit interior models with glowing windows but are unforgiving of dust and lint, so check your sweep before every set of shots.
Contextual backdrops have their place too. Shooting a massing model against a blurred urban texture or natural setting can establish scale and atmosphere, but use this sparingly and only when the context genuinely supports the design narrative. For a portfolio you want consistency, so pick one or two backdrop strategies and apply them across all your model spreads.
⚠️ Common Mistake to Avoid
Photographing a model on your studio desk with cutting mats, glue, and laptop cables in the frame is the fastest way to make strong work look amateurish. Even if you plan to mask the background in editing, a clean sweep saves hours of cutout work and produces far cleaner edges than a rushed selection on a cluttered scene.
Can you shoot architecture models with a phone, or do you need a camera?
A modern smartphone is genuinely capable of portfolio-quality architecture model photography when you control the light and stabilize the shot. First in Architecture is explicit that you can achieve great results with an iPhone or similar device, so a missing DSLR is not a valid excuse for weak images. Where a dedicated camera pulls ahead is shallow depth of field, perspective control, and clean shadow detail in tricky lighting.
| Factor | Smartphone | DSLR / Mirrorless |
|---|---|---|
| Stabilization | Needs a small tripod or prop | Tripod plus remote or timer |
| Depth of field | Use Portrait mode carefully | True aperture control (f/8 to f/16 for sharp models) |
| Perspective lines | Shoot straight on, fix in editing | Tilt-shift lens keeps verticals true |
| Detail and macro | Good in bright, soft light | Macro lens for close textures |
| Best for | Quick, clean massing and study shots | Hero spreads and intricate final models |
Whatever device you use, lock these basics: disable the flash, set white balance to match your light source so white card does not turn orange or blue, and brace the camera on a tripod or stack of books so you can use a slower shutter without blur. Shoot a narrower aperture (or avoid Portrait mode for full-model shots) so the whole model stays sharp from front to back, then switch to shallow focus only for deliberate detail shots.
📐 Technical Note
For a sharp full-model shot on a camera, an aperture around f/8 to f/16 gives strong depth of field, but very small apertures past f/16 can introduce diffraction softening. If you cannot get the whole model sharp in one frame, shoot several frames at different focus points and combine them with focus stacking in Photoshop or Helicon Focus.
How do you photograph drawings and digital models for a portfolio?
Physical models are only half the story. Most portfolios pair them with photographed hand drawings, sketchbooks, and digital model captures, and the same discipline applies. For hand drawings and sketches, light the sheet evenly from both sides to avoid hotspots, shoot perfectly square to the paper to keep lines true, and capture at the highest resolution you can so the texture of the paper and graphite survives reproduction.
For digital models in Rhino, SketchUp, or Blender, treat the viewport like a camera: set a clean white or studio environment, use soft global illumination rather than a single harsh light, and export at high resolution with consistent line weights. The goal is for a screen capture of a digital model to sit comfortably on the same spread as a photographed physical one without looking like a different document.
Consistency across all these assets is what separates a coherent portfolio from a scrapbook. The Portfolio Mentor platform checks your spreads against the published conventions of hundreds of studios and graduate programs, flagging mismatched aspect ratios, inconsistent backgrounds, and uneven image quality before a reviewer ever sees them.
How to edit architecture model photos without overdoing it
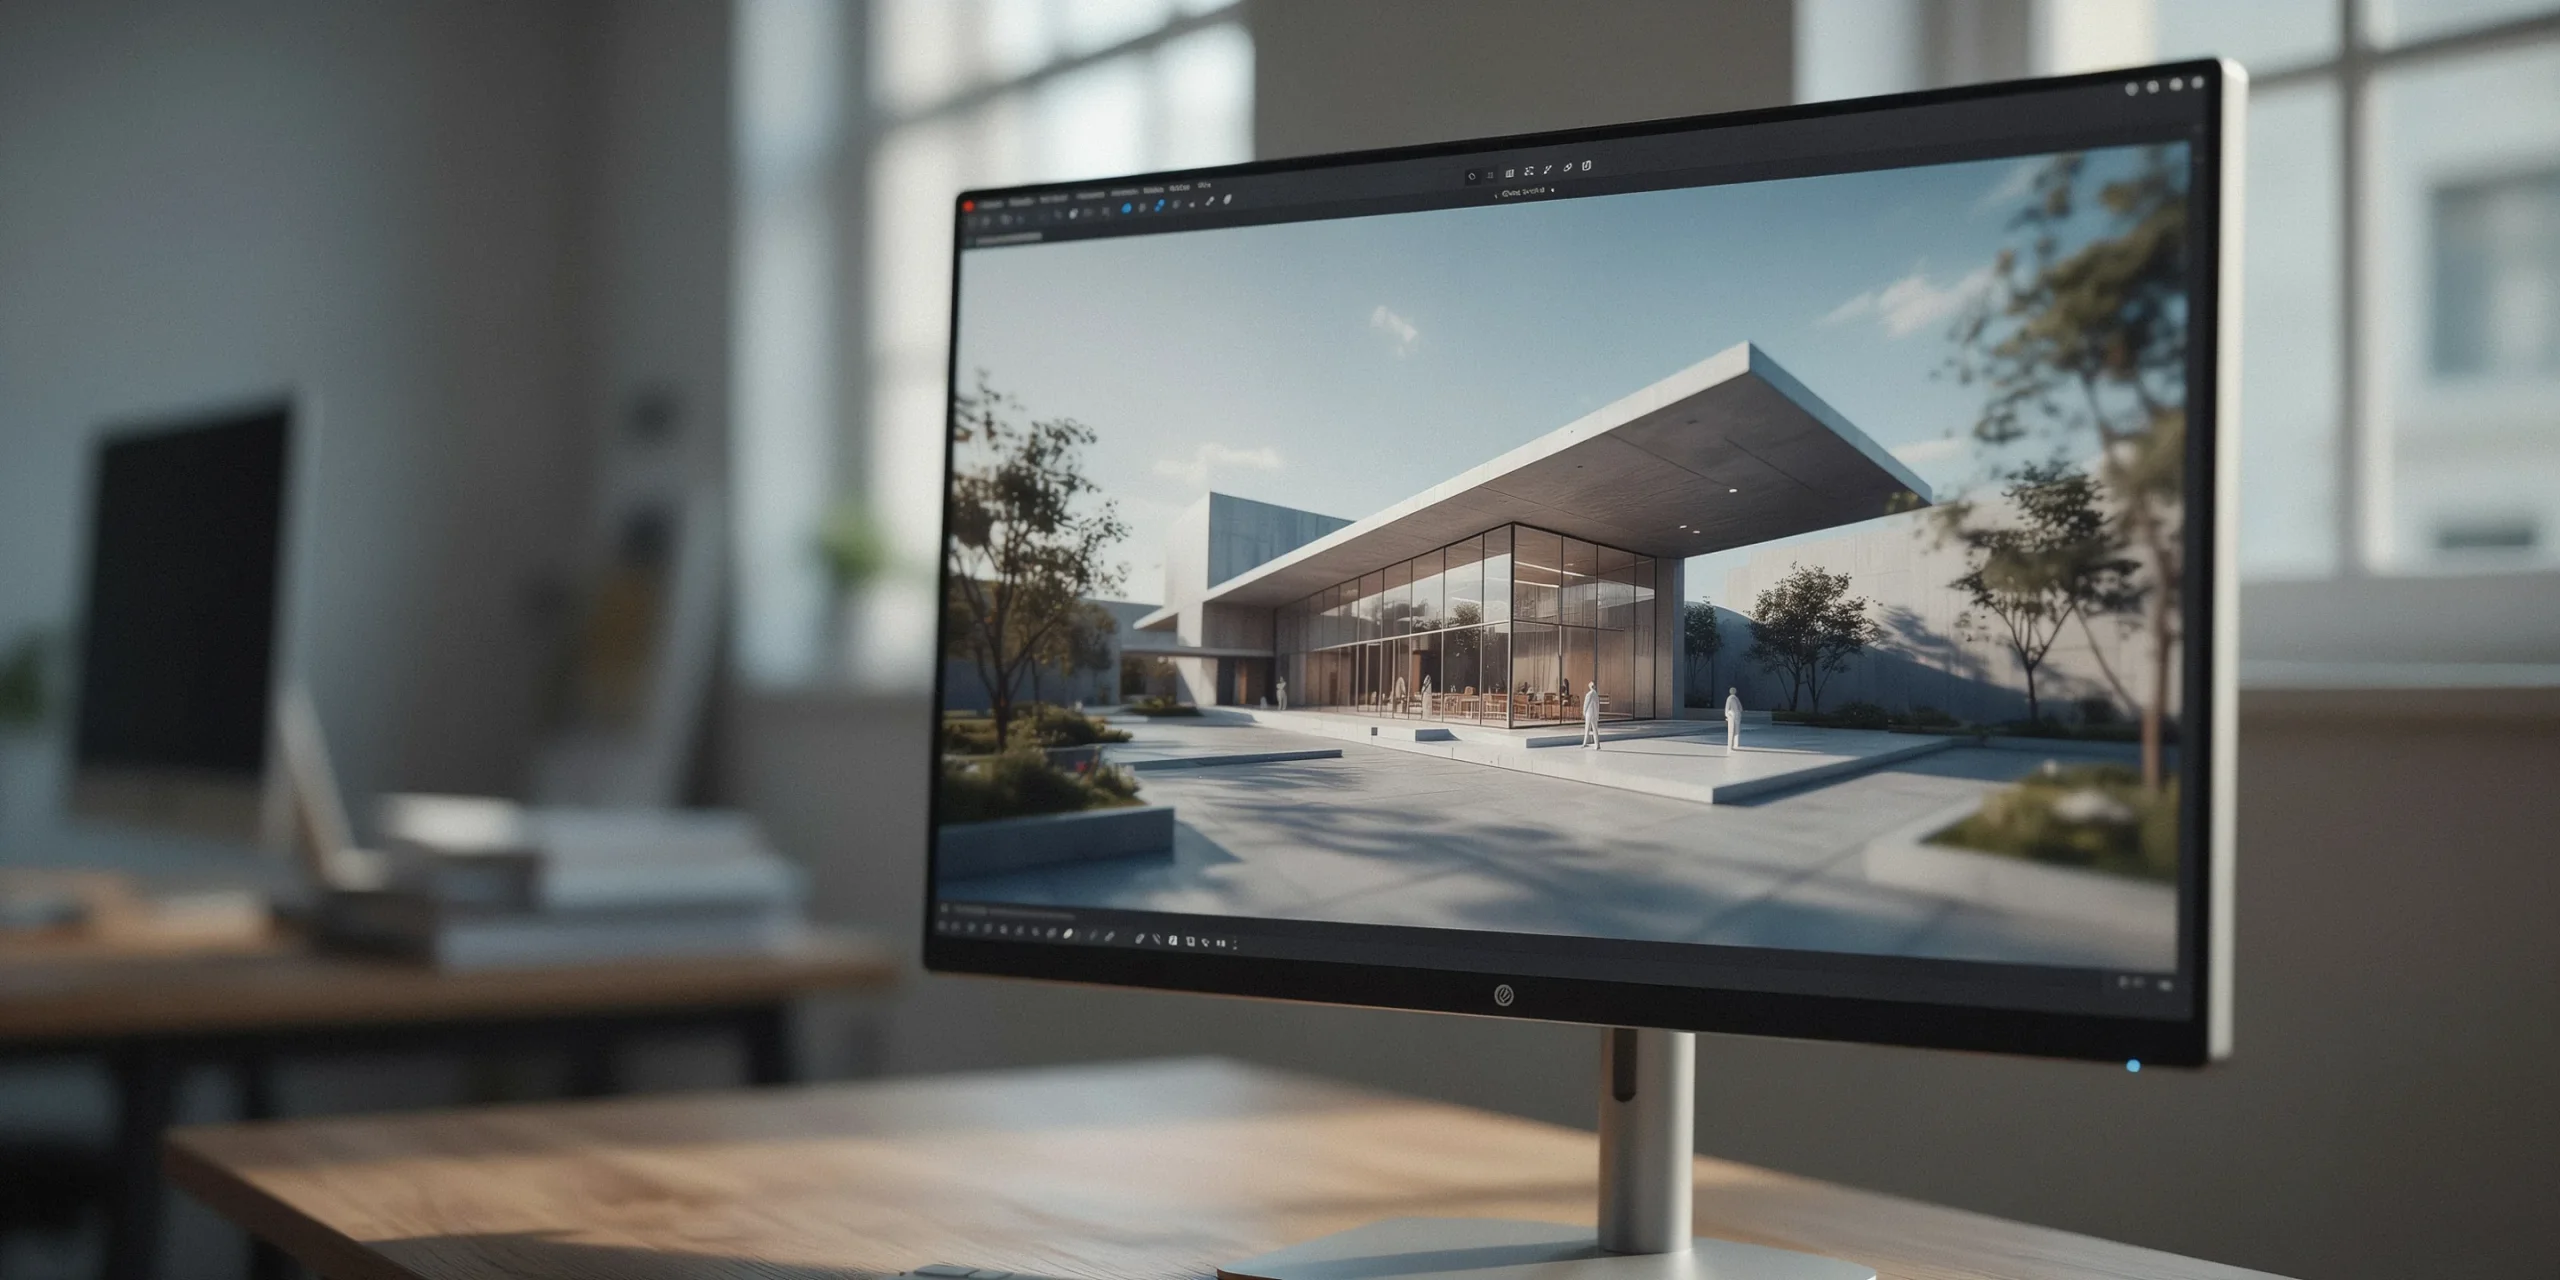
Editing should refine a good capture, not rescue a bad one. Work in Lightroom, Photoshop, or a phone editor like Snapseed and move through a short, repeatable sequence so every image in your portfolio shares the same look. Restraint is the rule: over-edited model shots with crushed shadows and oversaturated color read as inexperienced to design reviewers.
- Correct white balance so whites read neutral and materials show true color.
- Straighten and crop to fix verticals and tighten the composition.
- Set exposure and contrast, recovering shadow detail and protecting highlights on white models.
- Clean the backdrop, removing dust, lint, and stray marks with the healing tool.
- Sharpen sparingly and apply consistent, subtle color grading across the whole set.
A reliable workflow is to develop one image you are happy with, then sync or paste those exact settings across the rest of the batch so your model spread looks like a unified series. If you are still deciding how much polish a model deserves relative to your strongest projects, the curation feedback inside Portfolio Mentor can tell you whether a model shot is earning its page or padding the document.
💡 Pro Tip
Shoot more frames than you think you need and from more angles, including an eye-level view, a high overhead that reads like a plan, and a low angle for drama. Editing down from twenty options gives you a real choice; reshooting a dismantled model after the deadline does not.
Architecture model photography checklist
- One dominant diffused light plus soft fill; room lights off.
- Seamless neutral sweep, tone matched to the model.
- Backdrop checked for dust and lint before shooting.
- Camera or phone braced; flash off; white balance set to the light.
- Narrow aperture for whole-model sharpness, shallow focus for details.
- Multiple angles: eye level, overhead, and low.
- Highest resolution capture for drawings and digital model exports.
- Consistent, restrained edit synced across the full set.
Run this checklist for every model and your portfolio gains a visual through-line that reviewers notice immediately. For related layout and presentation decisions, see our guides to building your portfolio in InDesign and the most common architecture portfolio mistakes that strong photography alone cannot fix.
Frequently asked questions about architecture model photography
Do I need an expensive camera for architecture model photography?
No. A current smartphone on a small tripod with controlled, diffused light and a clean backdrop produces portfolio-ready results. A dedicated camera helps mainly with perspective control, depth of field, and shadow detail, but technique matters far more than the price of the body.
What is the best background for shooting a study model?
A seamless sweep of neutral paper or cloth, with the tone chosen to contrast the model. Light gray suits white chipboard models, while white or black suits darker, material-rich models. The key is a continuous curve with no visible horizon line behind the model.
How many model photos should go in an architecture portfolio?
Quality over quantity. For most projects, one strong hero shot plus one or two supporting detail or process images is enough. Reserve full pages of model photography for designs where the physical model genuinely advances the story, and cut shots that merely repeat what a render already shows.
Treat your models as evidence of how you think, not just objects you built. When the lighting is controlled, the backdrop is clean, and the edit is consistent, even a rough cardboard study can carry a spread and tell a reviewer you take presentation as seriously as design. Photograph the model the day you finish it, while it is still pristine, and your portfolio will thank you later.
Sources: First in Architecture, Archisoup, The School of Photography, Adobe, illustrarch.